This guide will go though how to setup husky version 6+ with commitlint version 12+. Husky allows for running scripts throughout the lifecycle of git, whereas commitlint allows you to add rules to format your commits by convention. Earlier versions require setting up configuration through package.json, however with the latest version of husky this is deprecated.
Create a new folder and change directory into it.
mkdir project
cd project
Initialise the folder with npm, to create a package.json and initialise git.
npm init -y
git init
Create a .gitignore file and add the following to it, such that node_modules folder is not included in version history.
node_modulesStage and commit everything done so far.
git add .
git commit -m "initial"
Install the following dependencies as dev dependencies with –save-dev flag.
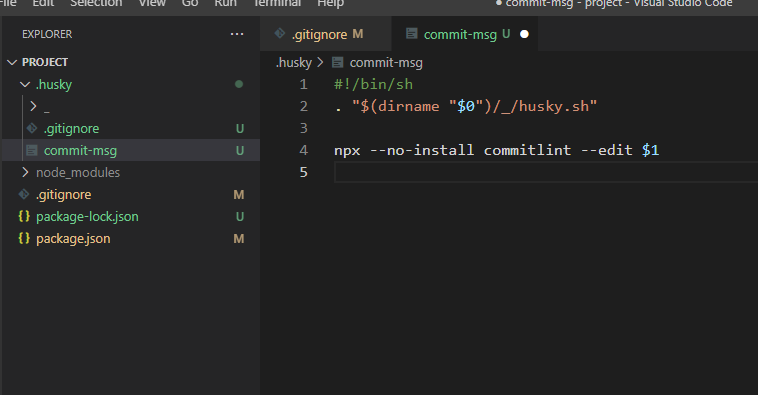
npm install --save-dev @commitlint/config-conventional @commitlint/cli huskyThe following command will install husky config under .husky directory. By default this command creates pre-commit file, In this example I renamed it to commit-msg in order to lint my commit messages.
npx husky install
npx husky-init

Following that I attempted to commit a bad commit message. The following error showed, Please add rules to your commitlint.config.js

Add the following to commitlint.config.js, which will extend the configuration from the package installed earlier.

feat: my message or chore: my message and the commit will succeed.

Great walkthrough!
LikeLike